Mesh concepts
Until now, we’ve been manipulating entire objects (like the cube). We’ve been in Object Mode. To make changes inside the object itself, we need to enter Edit Mode.
The cube is an example of a mesh object. A mesh is made up of individual vertices. These are connected by edges. Edges can be connected together to create faces. To access the vertices, edges, and faces of the mesh and manipulate them, we need to switch to Edit Mode.
Everything you’ve learned so far – changing the view, grabbing, scaling, rotating, selecting, deleting, Space bar, undo – works the same.
| Action | Description |
|---|---|
Tab |
Toggle between Object Mode and Edit Mode |
Exercise: mesh concepts

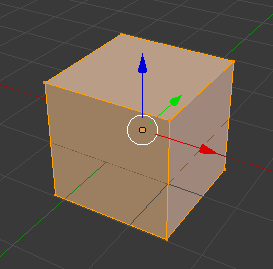
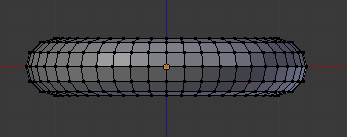
The cube in Object Mode
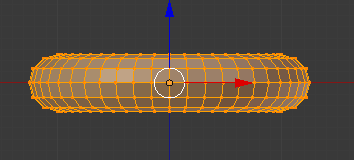
- With the cube selected, enter Edit Mode (
Tab)
The cube in Edit Mode
- Deselect all (
A), then select one vertex
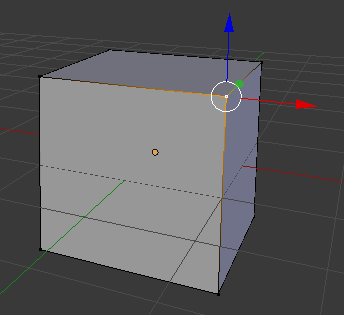
One vertex selected in Edit Mode
- Add an adjacent vertext to the selection, and notice how the edge is highlighted.
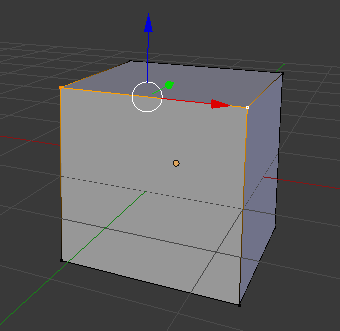
One edge selected in Edit Mode
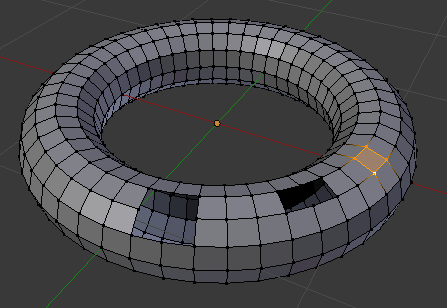
- Select the other adjacent vertices to select the face.
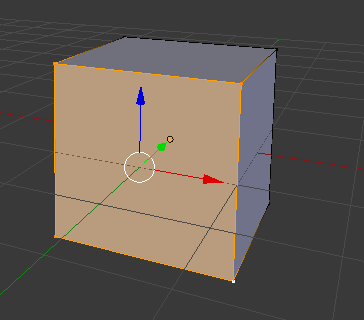
One face selected in Edit Mode
- Move, scale, and/or rotate the face and/or individual vertices and/or edges.
- Switch back to Object Mode, and then scale, rotate, and move the entire cube
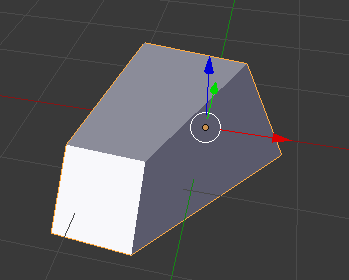
“Cube” in object mode after playing around with vertices, edges, faces
More selection tools
When working on more complex meshes, we need more powerful selection tools.
| Action | Description |
|---|---|
B |
“Bounding box” selection. Drag LMB to select |
Z |
Toggle between solid and wireframe views |
C |
“Circle” selection. LMB to select,
Enter or RMB to confirm. |
MW (when in circle selection) |
Resize the selection circle |
Exercise: selections in solid vs wireframe view
- Switch to Object Mode
- Delete the cube
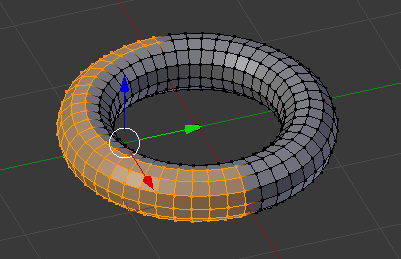
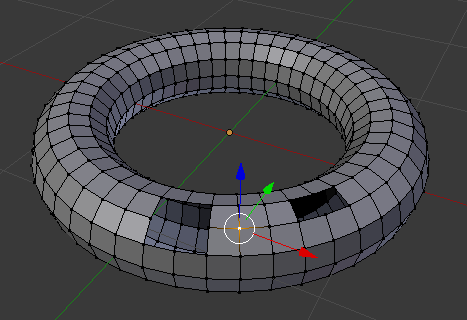
- Add a torus
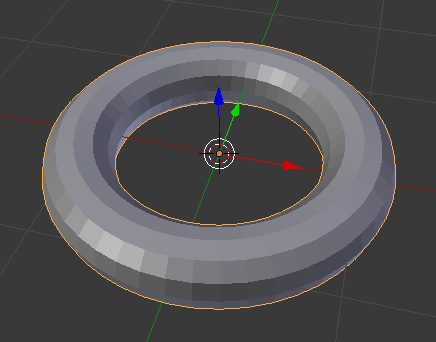
New torus
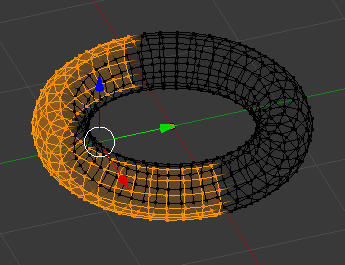
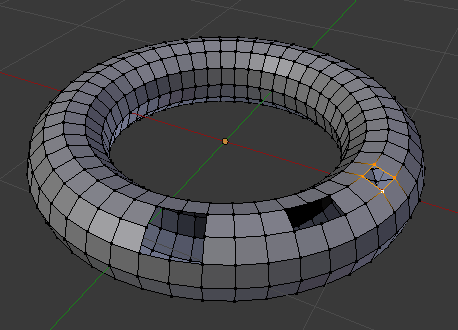
- With the torus selected, switch to Edit Mode
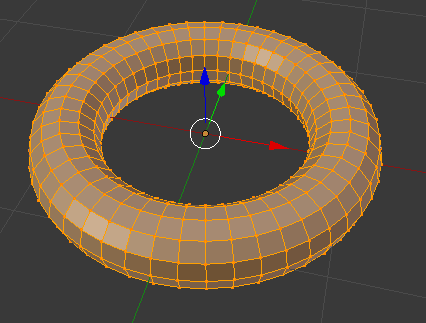
Torus in Edit Mode
- Deselect all
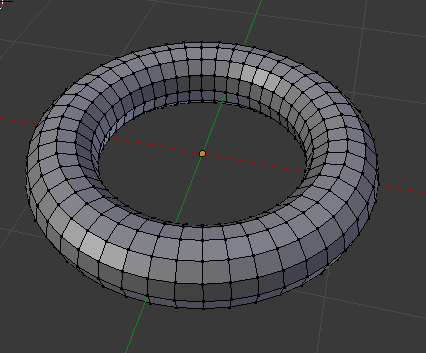
All vertices deselected
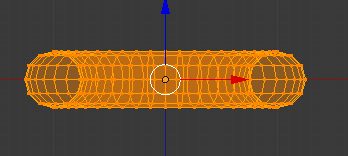
- Switch to front orthographic view (
Numpad1,Numpad5)
Front ortho view
- Using
B, select all vertices
Selected vertices with B
- Rotate the view with
MMB. Which vertices were selected? Why?
Rotated view
- Switch to wireframe view (
Z)
Wireframe mode
- Deselect all again
- Switch to front view again
- Using
B, select all vertices again
Front view after using B to select in wireframe mode.
- Rotate view again – what happened this time?
Making and filling holes
Exercise: the effect of deleting a vertex/edge/face
- Switch to Edit Mode on the torus
- Switch to solid view (
Z) - Select a single vertex and delete it (
X, )

Deleting a single vertex also removes the edges and faces it’s part of
- Elsewhere on the torus, select a single edge and delete it (
X, )
Deleting an edge also removes the faces it’s part of, but doesn’t remove the vertices that make it up.
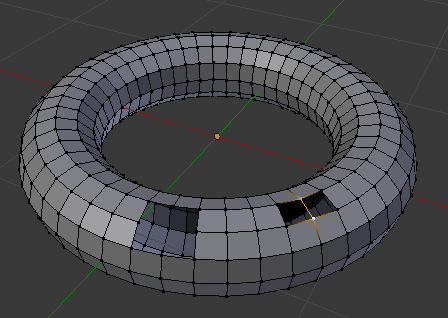
- Elsewhere still, select a face and delete it (
X, )
Deleting a face does not affect edges or vertices. The vertices that made up the face have been re-selected to better show the hole
Filling in edges and faces
In general, it is easier to work with quads (faces with 4 edges) than tris (3 edges). Blender does support ngons (faces with >4 edges), but these can cause issues when exporting for 3D printing.
| Action | Description |
|---|---|
F (in Edit Mode) |
“Fill” (create an edge or face) |
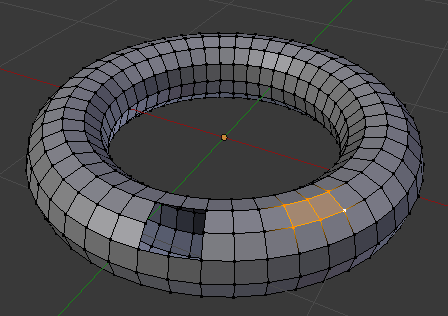
Exercise: creating new edges and faces
- Patch the smallest hole created above by creating a face (select the
4 vertices,
Fto fill)
Patched hole created by deleting face
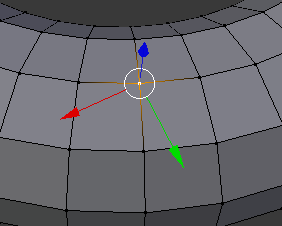
- Patch the second-smallest hole from above, but first create an edge in the
middle (select 2 vertices,
F), separating the hole into two small quads.
Added a new edge
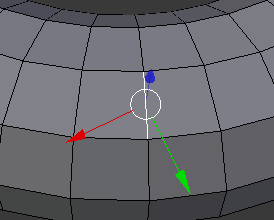
- Then create new faces on either side by selecting all 6 vertices and
hitting
F.
Added new faces
Note
- Leave the larger hole for now – we need to learn another technique.
Selection extras
At the bottom of the 3D window are buttons that allow selection of entire edges or faces. Depending on what part of a model or what kinds of tasks you’re doing, it may be more convenient to switch to another mode.

From left to right: vertices, edges, faces
Default vertex selection
Edge selection: RMB on an edge will select it.
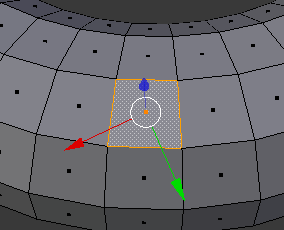
Face selection: RMB in the middle of a face will select it.
See also
See the Blener manual’s introduction to meshes and the editing meshes for lots more on mesh editing.